Hey there! As a supplier of ADSS Fastening Clamps, I've got a bunch of hands - on experience when it comes to these nifty little devices. Today, I'm gonna walk you through how to install an ADSS Fastening Clamp on a cable with a low wind load.
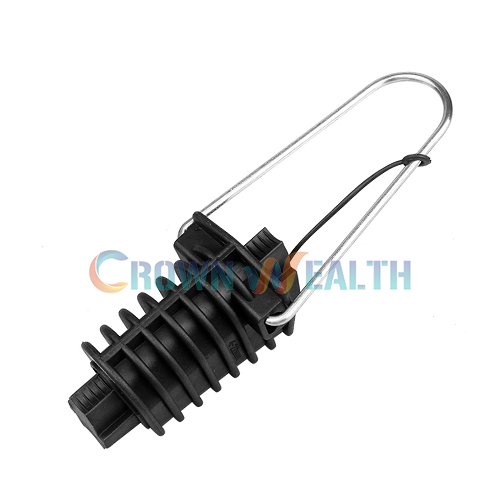
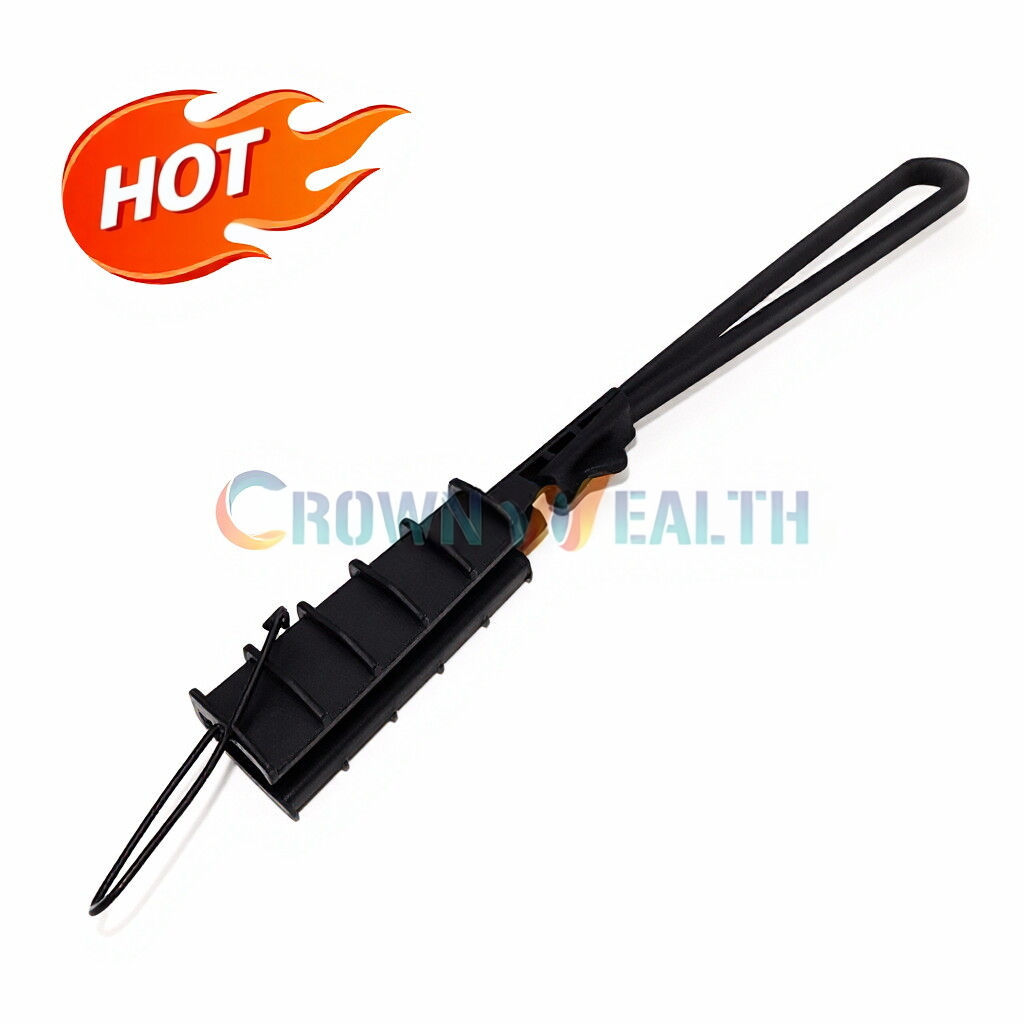
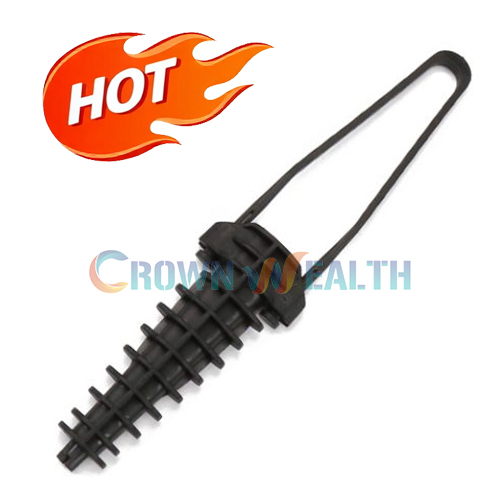
First off, let's understand what an ADSS Fastening Clamp is and why it's so important. ADSS, or All - Dielectric Self - Supporting, cables are used in a variety of applications, especially in power line communication and telecommunication setups. These cables need to be properly secured, and that's where our ADSS Fastening Clamps come in. They hold the cable firmly in place, ensuring it can withstand environmental factors, even in low - wind - load conditions.
Pre - installation Checks
Before you start the installation process, you gotta do some pre - installation checks. First, take a good look at the cable. Make sure there are no visible damages or cuts on it. Any damage could compromise the integrity of the cable and the effectiveness of the clamp.
Next, check the ADSS Fastening Clamp itself. Inspect it for any manufacturing defects, like cracks or uneven surfaces. A faulty clamp won't do its job properly, and you'll end up having to replace it sooner rather than later.
Also, take a moment to assess the installation location. Is it clear of any obstructions? You need to have enough space to work comfortably and install the clamp correctly.
Tools Required
To install the ADSS Fastening Clamp, you'll need a few basic tools. A torque wrench is a must - have. It helps you tighten the bolts on the clamp to the correct torque specification. This is crucial because if the bolts are too loose, the clamp won't hold the cable securely. On the other hand, if they're too tight, you could damage the cable or the clamp itself.
You'll also need a pair of pliers. Pliers come in handy for holding small parts and making minor adjustments during the installation process. And don't forget a measuring tape. You need to measure the cable diameter accurately to ensure you're using the right size of the clamp.
Step - by - Step Installation
Now, let's get into the actual installation process.
Step 1: Measure the Cable Diameter
Use the measuring tape to measure the diameter of the ADSS cable. This is important because ADSS Fastening Clamps come in different sizes to fit different cable diameters. Make sure you select the clamp that matches the diameter of your cable. If you use a clamp that's too small, it won't fit over the cable. If it's too big, it won't hold the cable tightly enough.
Step 2: Prepare the Clamp
Open up the ADSS Fastening Clamp. Some clamps come in two halves that need to be assembled before use. If that's the case with your clamp, use the pliers to align the holes and insert the bolts. Don't fully tighten the bolts at this stage; just get them in place so the clamp holds its shape.
Step 3: Position the Clamp on the Cable
Carefully place the prepared clamp around the cable at the desired installation location. Make sure the clamp is centered on the cable and that it's in the right orientation. Some clamps have specific markings or features that indicate the correct way to install them.
Step 4: Tighten the Bolts
Once the clamp is in position, it's time to start tightening the bolts. Use the torque wrench to gradually tighten the bolts to the specified torque value. You can usually find the torque specification in the product manual that comes with the clamp. Tighten the bolts evenly, alternating between them to ensure the clamp applies even pressure around the cable.
Step 5: Double - Check the Installation
After tightening the bolts, give the installation a final check. Make sure the clamp is firmly attached to the cable and that there's no play or movement. Also, check the cable for any signs of damage caused by the tightening process. If everything looks good, then you're all set!
Special Considerations for Low Wind Load
In a low - wind - load environment, you might think that the installation process is less critical. But that's not entirely true. Even though the wind forces are lower, the clamp still needs to hold the cable securely.
One thing to keep in mind is that in low - wind conditions, there's less natural movement of the cable. This means that any small misalignment or improper installation could lead to long - term issues. For example, if the clamp is not centered on the cable, it could cause uneven stress on the cable over time, leading to premature wear and tear.
Also, make sure the clamp is properly sealed. Even in low - wind areas, moisture and dust can still find their way into the clamp and cause corrosion or other problems. A well - sealed clamp will protect the cable and ensure its longevity.
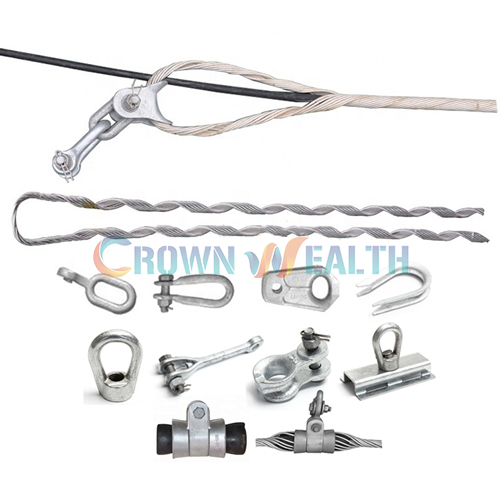
Other Related Products
If you're in the market for other ADSS - related products, we've got you covered. We offer a range of Fastening Fixture that can be used in conjunction with the ADSS Fastening Clamps. These fixtures provide additional support and stability to the cable installation.
Our Downlead Clamp is another great product. It's designed to secure the cable as it runs down from the main line, preventing it from swaying or getting damaged.
And for cable storage, our ADSS Cable Storage Bracket is a must - have. It allows you to neatly store excess cable, keeping your installation area organized and tidy.
Conclusion
Installing an ADSS Fastening Clamp on a cable with a low wind load might seem like a simple task, but it requires attention to detail. By following the steps outlined above and considering the special factors related to low - wind conditions, you can ensure a successful installation.


If you're interested in purchasing our ADSS Fastening Clamps or any of our other related products, don't hesitate to reach out. We're here to help you with all your ADSS cable installation needs. Whether you're a small - scale installer or a large - scale contractor, we've got the products and expertise to support you.
References
- Product manuals of ADSS Fastening Clamps
- Industry standards for ADSS cable installation
- Technical guides on fiber - optic cable fittings