Hey there! As a supplier of ADSS Down Lead Clamps, I'm super stoked to share with you all the ins and outs of the installation requirements for these nifty little devices on a pole. So, let's dive right in!
1. Understanding the ADSS Down Lead Clamp
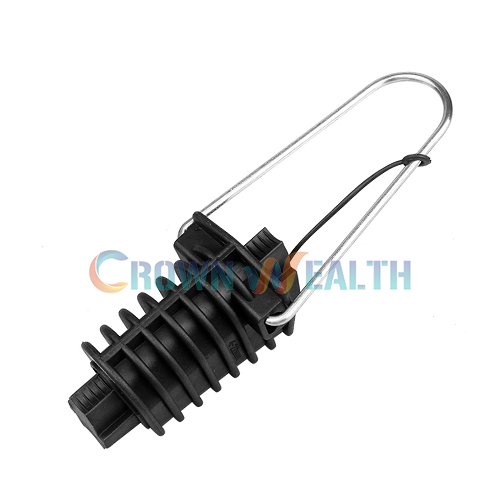
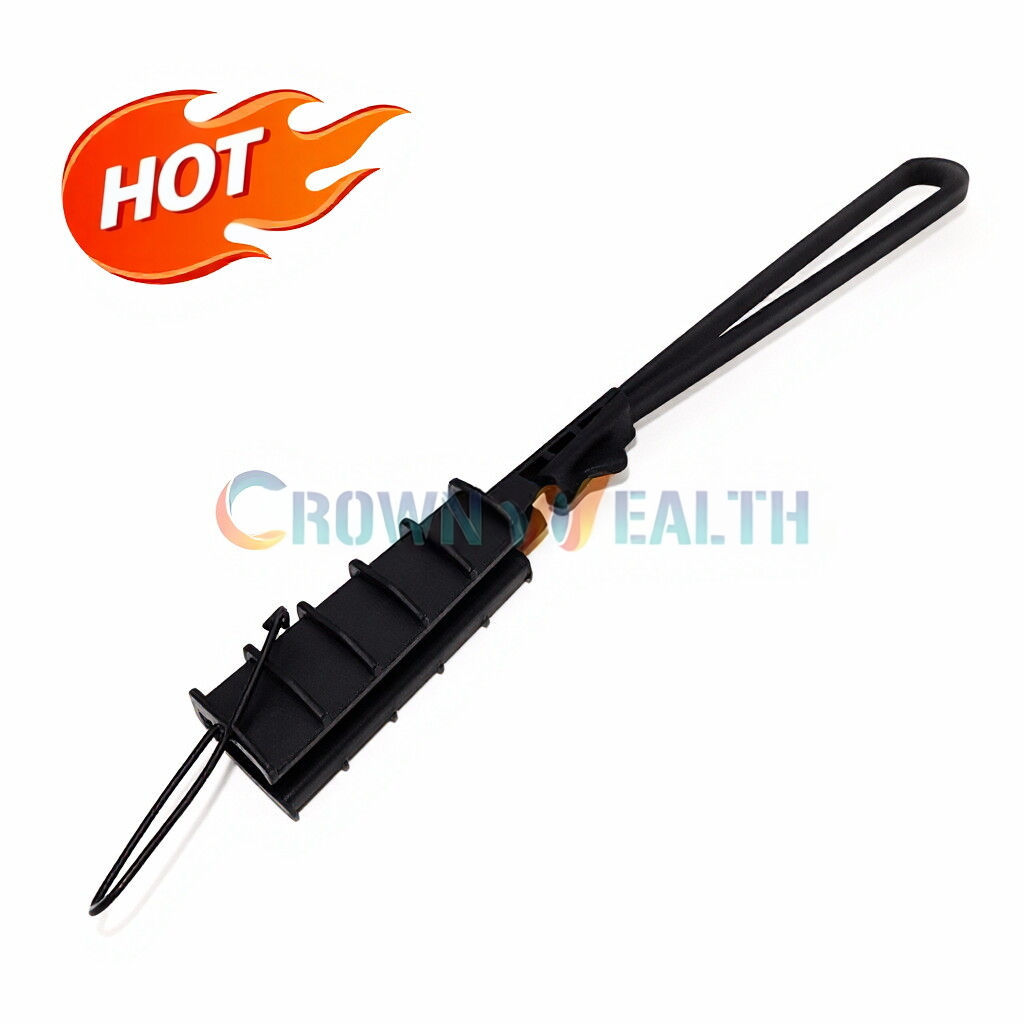
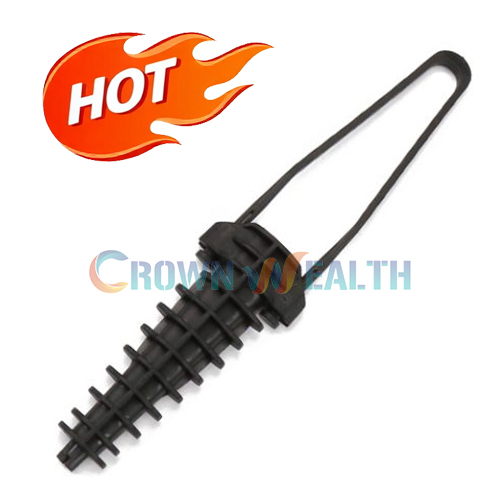
First off, what exactly is an ADSS Down Lead Clamp? Well, it's a crucial component in the installation of All - Dielectric Self - Supporting (ADSS) fiber optic cables. These clamps are designed to secure the down lead of the ADSS cable to the pole, ensuring that the cable is properly positioned and protected from environmental factors like wind, rain, and even some mechanical stress.
2. Pole Requirements
2.1 Pole Type and Condition
The type of pole you're using matters a whole lot. You can use wooden, steel, or concrete poles, but they all need to be in good condition. For wooden poles, make sure there's no significant rot or decay. A rotten pole won't be able to support the clamp and the cable properly, and it could lead to a whole host of problems down the line.
Steel poles should be free from rust and structural damage. Rust can weaken the pole over time, and any cracks or bends could affect the stability of the clamp installation. Concrete poles also need to be inspected for cracks, chips, or any signs of deterioration. If you spot any issues with the pole, it's best to fix them before installing the ADSS Down Lead Clamp.
2.2 Pole Height and Location
The height of the pole is important too. You need to install the clamp at a height that's safe and accessible for maintenance. Usually, it's installed at a height where a lineman can reach it without too much trouble, but not so low that it can be easily tampered with.
The location of the pole is also a factor. It should be away from areas where there's a high risk of physical damage, like near heavy traffic or construction sites. And make sure there's enough clearance around the pole for the cable to hang freely without getting tangled or damaged by other objects.
3. Cable Requirements
3.1 Cable Size and Type
The ADSS Down Lead Clamp is designed to fit specific cable sizes. You need to make sure that the cable you're using is within the recommended size range of the clamp. Using a cable that's too big or too small can lead to a poor fit, which could result in the cable slipping out of the clamp or not being held securely enough.
Also, ensure that the cable is an ADSS type. These cables are self - supporting and don't require a metallic strength member, which makes them suitable for use in areas where there's a risk of electrical interference.
3.2 Cable Condition
Before installing the clamp, check the cable for any damage. Look for cuts, abrasions, or kinks in the cable. A damaged cable can compromise the performance of the entire fiber optic system. If you find any damage, you may need to replace the affected section of the cable before proceeding with the clamp installation.
4. Tools and Equipment
4.1 Basic Tools
To install an ADSS Down Lead Clamp, you'll need some basic tools. A good set of wrenches is essential for tightening the bolts and nuts on the clamp. Make sure the wrenches fit the fasteners properly to avoid stripping them.


You'll also need a measuring tape to ensure that the clamp is installed at the correct height and position on the pole. A level is another useful tool to make sure the clamp is installed straight. This is important for the proper alignment of the cable and the overall stability of the installation.
4.2 Safety Equipment
Safety should always be your top priority. Wear appropriate safety gear like hard hats, safety glasses, and gloves. If you're working at height, use a safety harness to prevent falls. And make sure all your tools are in good working condition to avoid any accidents.
5. Installation Process
5.1 Pre - installation Checks
Before you start installing the clamp, double - check all the requirements we've mentioned above. Make sure the pole is in good condition, the cable is the right size and in good shape, and you have all the necessary tools and safety equipment.
5.2 Mounting the Clamp
First, position the clamp on the pole at the desired height. Use the measuring tape and level to get it in the right place. Then, attach the clamp to the pole using the appropriate bolts and nuts. Tighten them securely, but don't over - tighten, as this could damage the pole or the clamp.
Next, carefully place the ADSS cable into the clamp. Make sure the cable is centered and properly seated in the clamp. Then, tighten the cable - holding part of the clamp to secure the cable. Again, use the right amount of force to ensure a good fit without damaging the cable.
6. Additional Considerations
6.1 Environmental Factors
Take into account the local environmental conditions. If you're in an area with high winds, you may need to use additional support or reinforcement for the clamp. In areas with extreme temperatures, make sure the clamp and the cable can withstand the temperature variations.
6.2 Compatibility with Other Components
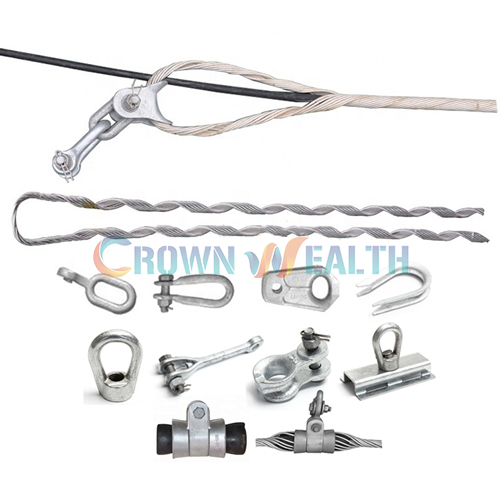
The ADSS Down Lead Clamp should be compatible with other components in the fiber optic system. For example, it should work well with Performed Suspension Clamp, Hot Dip Galvanized Cable Storage Bracket, and ADSS Cable Guy Grips Sets. Check the specifications of all the components to ensure they work together seamlessly.
7. Maintenance and Inspection
After the installation, it's important to regularly inspect the ADSS Down Lead Clamp and the cable. Check for any signs of wear and tear, loose bolts, or damage to the cable. If you notice any issues, address them immediately to prevent further problems.
Contact for Purchase and Consultation
If you're in the market for high - quality ADSS Down Lead Clamps or have any questions about the installation requirements, feel free to reach out. We're here to help you with all your fiber optic cable fitting needs. Whether you're a small - scale installer or a large - scale contractor, we've got the products and expertise to support you.
References
- "Fiber Optic Cable Installation Guide", Industry Standard Publication
- "ADSS Cable System Design and Installation Manual", Manufacturer's Handbook