Adjusting Dead End Guy Grips: A Comprehensive Guide
As a supplier of Dead End Guy Grips, I've witnessed firsthand the importance of proper adjustment in ensuring the safety and efficiency of electrical and communication systems. Dead End Guy Grips are essential components used to secure cables and conductors at the end of a line, providing stability and preventing sagging or excessive movement. In this blog post, I'll share my insights on how to adjust Dead End Guy Grips effectively, drawing on my experience in the industry.
Understanding Dead End Guy Grips
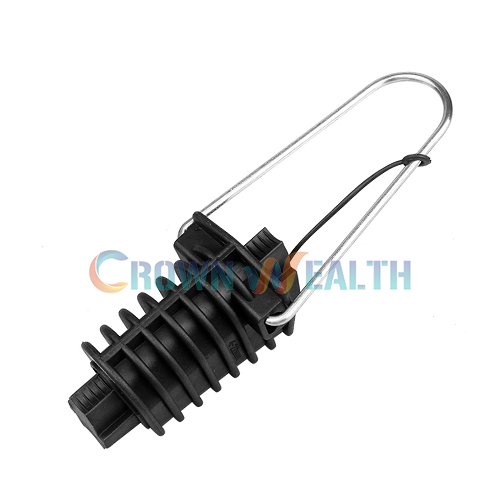
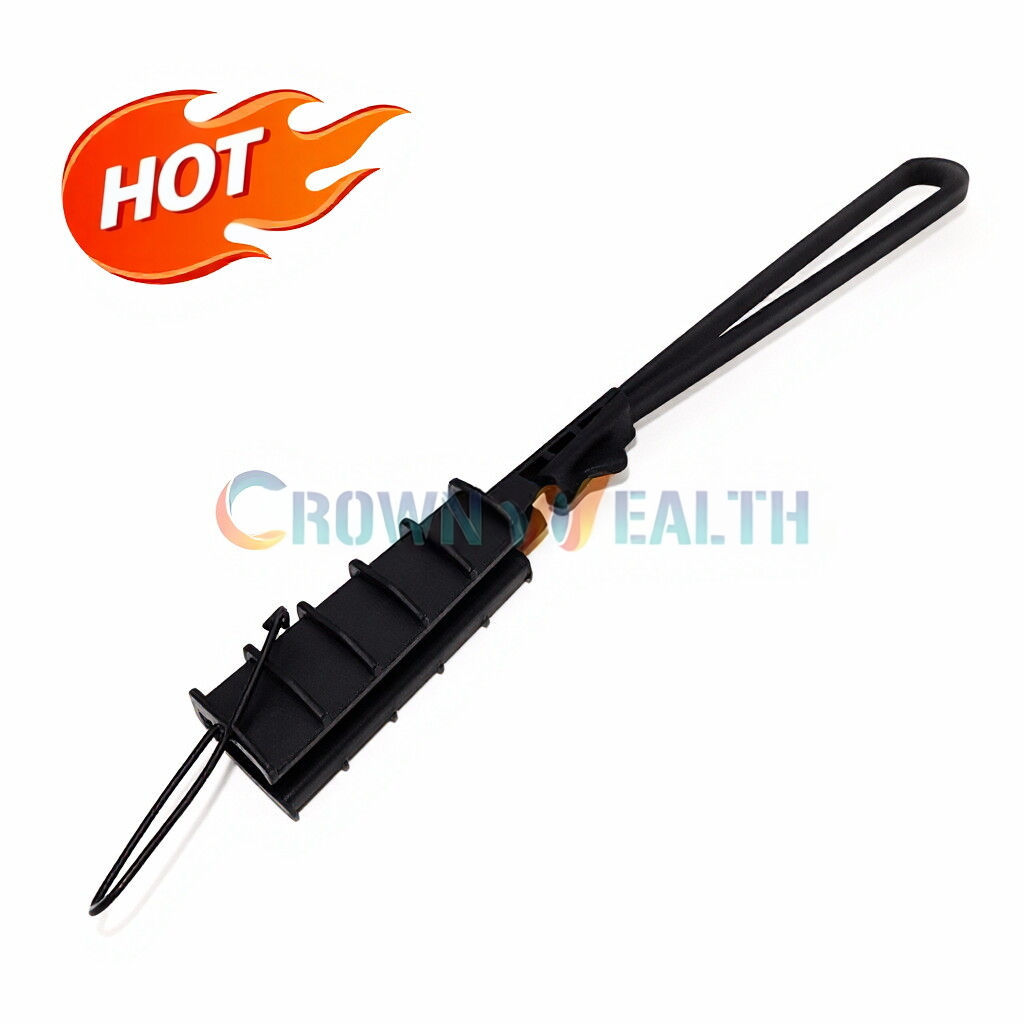
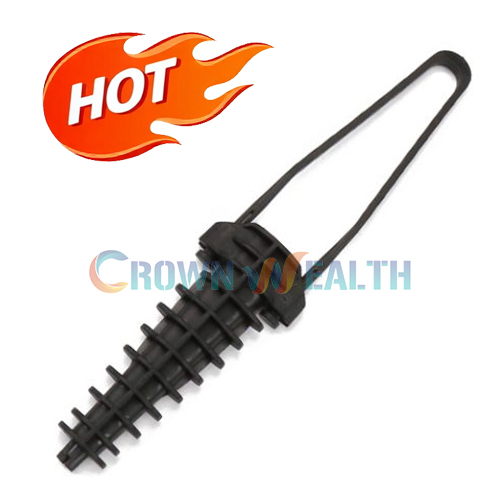
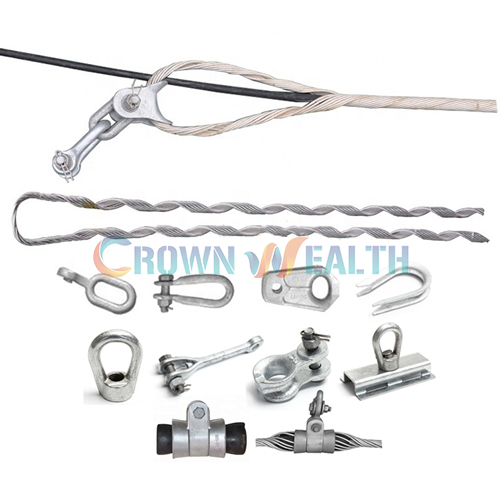
Before delving into the adjustment process, it's crucial to understand the basic structure and function of Dead End Guy Grips. These grips typically consist of a body, a wedge, and a set of fingers or jaws. The body is designed to hold the cable or conductor, while the wedge is used to tighten the grip around the cable. The fingers or jaws provide additional support and prevent the cable from slipping out of the grip.
Dead End Guy Grips come in various sizes and designs to accommodate different cable types and applications. Some grips are designed for use with single conductors, while others can handle multiple conductors or bundled cables. It's important to choose the right grip for your specific application to ensure proper performance and safety.
Tools and Materials Needed
To adjust Dead End Guy Grips, you'll need a few essential tools and materials. Here's a list of what you'll typically need:
- Wrenches: A set of wrenches, including adjustable wrenches and socket wrenches, will be needed to loosen and tighten the bolts and nuts on the grip.
- Torque Wrench: A torque wrench is essential for ensuring that the bolts and nuts are tightened to the correct specifications. Over-tightening or under-tightening can lead to premature failure or improper performance of the grip.
- Cable Cutter: A cable cutter may be needed to trim the cable to the appropriate length before installing the grip.
- Measuring Tape: A measuring tape will be needed to measure the length of the cable and ensure that it is properly positioned within the grip.
- Safety Equipment: Safety equipment, such as gloves and safety glasses, should be worn at all times when working with electrical cables and equipment.
Step-by-Step Adjustment Process
Now that you have the necessary tools and materials, let's walk through the step-by-step process of adjusting Dead End Guy Grips:
Step 1: Prepare the Cable
Before installing the grip, you'll need to prepare the cable by trimming it to the appropriate length. Use a cable cutter to cut the cable to the desired length, leaving enough room for the grip to be installed. Make sure to remove any insulation or protective covering from the end of the cable to expose the bare conductor.
Step 2: Install the Grip
Once the cable is prepared, it's time to install the grip. Place the grip over the end of the cable, making sure that the cable is centered within the grip. Align the holes in the grip with the holes in the cable, and insert the bolts and nuts through the holes. Tighten the bolts and nuts using a wrench, but do not over-tighten them at this stage.
Step 3: Adjust the Wedge
The next step is to adjust the wedge to tighten the grip around the cable. Insert the wedge into the slot in the grip, and use a wrench to tighten the wedge until it is snug against the cable. Make sure to apply even pressure to the wedge to ensure that the grip is tightened evenly around the cable.
Step 4: Check the Tension
After adjusting the wedge, it's important to check the tension of the cable to ensure that it is properly secured. Use a tension meter or a similar tool to measure the tension of the cable, and compare it to the manufacturer's specifications. If the tension is too low, you may need to adjust the wedge further to tighten the grip. If the tension is too high, you may need to loosen the wedge slightly to reduce the tension.
Step 5: Tighten the Bolts and Nuts
Once you have adjusted the tension of the cable, it's time to tighten the bolts and nuts on the grip to the correct specifications. Use a torque wrench to tighten the bolts and nuts to the recommended torque value, as specified by the manufacturer. Over-tightening the bolts and nuts can damage the grip or the cable, while under-tightening them can lead to premature failure or improper performance.
Step 6: Inspect the Installation
After tightening the bolts and nuts, it's important to inspect the installation to ensure that everything is properly installed and secured. Check the grip for any signs of damage or wear, and make sure that the cable is properly centered within the grip. Also, check the tension of the cable again to make sure that it is still within the recommended range.
Tips and Best Practices
Here are some tips and best practices to keep in mind when adjusting Dead End Guy Grips:
- Follow the Manufacturer's Instructions: Always follow the manufacturer's instructions when installing and adjusting Dead End Guy Grips. The manufacturer's instructions will provide you with the specific steps and torque values that are required for your particular grip.
- Use the Right Tools: Make sure to use the right tools for the job, including wrenches, torque wrenches, and cable cutters. Using the wrong tools can damage the grip or the cable, and can also lead to improper performance or safety hazards.
- Inspect the Grip Regularly: Regularly inspect the grip for any signs of damage or wear, such as cracks, corrosion, or loose bolts. If you notice any problems, replace the grip immediately to prevent premature failure or safety hazards.
- Consider the Environment: When installing and adjusting Dead End Guy Grips, it's important to consider the environment in which they will be used. For example, if the grips will be exposed to harsh weather conditions or corrosive chemicals, you may need to choose a grip that is made from a more durable material or that has a protective coating.
- Seek Professional Help if Needed: If you're unsure how to adjust Dead End Guy Grips or if you encounter any problems during the installation process, don't hesitate to seek professional help. A qualified electrician or technician can provide you with the guidance and support you need to ensure that the grips are installed and adjusted properly.
Related Products
In addition to Dead End Guy Grips, we also offer a range of related products that can help to enhance the performance and safety of your electrical and communication systems. Some of these products include:
- Hot Dip Galvanized Dampers: These dampers are designed to reduce the vibration and movement of cables and conductors, helping to prevent damage and premature failure.
- Preformed Conductor Tension Set: This set includes preformed conductors and tensioning devices that are designed to provide a secure and reliable connection between cables and conductors.
- Spiral Vibration Damper: These dampers are designed to reduce the vibration and movement of cables and conductors, helping to prevent damage and premature failure.
Conclusion
Adjusting Dead End Guy Grips is an important part of ensuring the safety and efficiency of electrical and communication systems. By following the steps outlined in this blog post and using the right tools and materials, you can adjust Dead End Guy Grips effectively and ensure that they are properly installed and secured. If you have any questions or need further assistance, please don't hesitate to contact us. We're here to help you find the right solutions for your specific needs.


If you're interested in purchasing Dead End Guy Grips or any of our other products, please contact us to discuss your requirements and get a quote. We look forward to working with you!
References
- Manufacturer's instructions for Dead End Guy Grips
- Industry standards and guidelines for electrical and communication systems
- Personal experience and expertise in the field of electrical and communication systems