Hey there! As a supplier of ADSS Fastening Clamps, I often get asked about how to install these clamps on a multi - layer cable. It's a crucial process, and getting it right ensures the safety and longevity of your cable system. So, let's dive right in!
Understanding the Basics
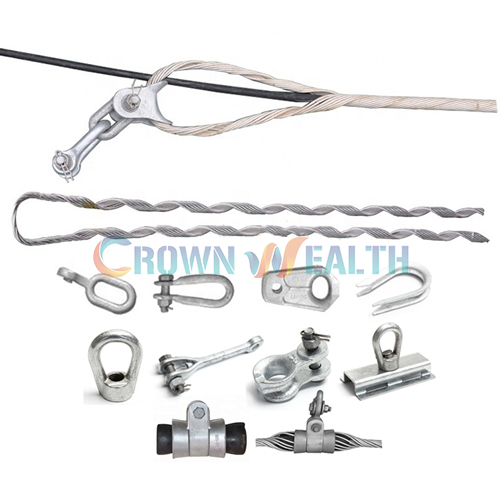
First off, you need to know what an ADSS (All - Dielectric Self - Supporting) cable is. It's a type of fiber - optic cable that's self - supporting and doesn't have any metallic components. This makes it ideal for use in high - voltage environments. The ADSS Fastening Clamps are used to secure these cables to poles or other structures.
When dealing with a multi - layer cable, things can get a bit tricky. Multi - layer cables have different layers, each with its own function. You've got the core layer, which contains the fiber optics, and then there are protective layers around it. The key is to install the clamps in a way that doesn't damage any of these layers.
Tools You'll Need
Before you start the installation, gather all the necessary tools. You'll need a good pair of gloves to protect your hands, a torque wrench to ensure the clamps are tightened to the correct specifications, and a measuring tape to get accurate measurements. Also, have a ladder or a lift if you're working at height.
Step 1: Preparation
The first step is to prepare the cable. Clean the area where you'll be installing the clamp. Any dirt or debris can affect the grip of the clamp. Use a clean cloth to wipe the cable surface.
Next, measure the cable diameter. This is important because you need to choose the right size of ADSS Fastening Clamp. Most of our clamps come in different sizes to fit various cable diameters. Make sure you select the one that matches your cable's diameter precisely.


Step 2: Positioning the Clamp
Once you've got the right clamp, it's time to position it on the cable. Start by placing the clamp around the cable at the desired location. For multi - layer cables, it's best to position the clamp over a section where the layers are well - protected. Avoid areas where the cable might be bent or kinked.
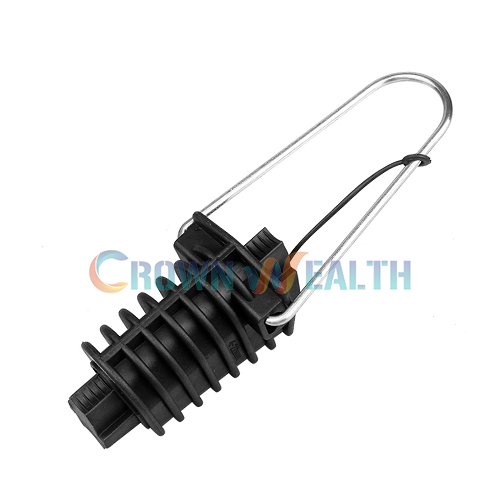
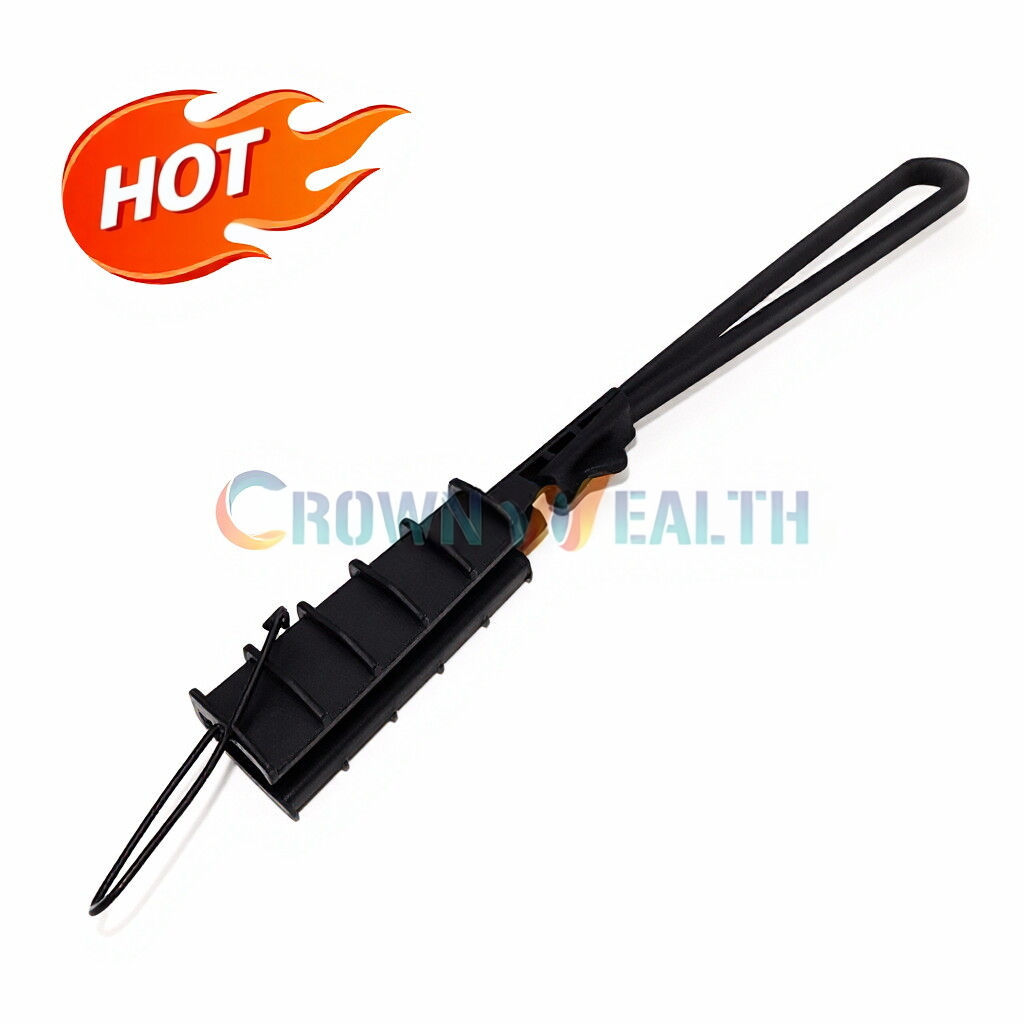
If you're using a Performed Suspension Clamp, it's designed to support the weight of the cable at suspension points. Position it at intervals along the cable route, usually at regular distances between poles.
Step 3: Attaching the Clamp
Now, it's time to attach the clamp to the cable. Follow the manufacturer's instructions carefully. Most of our clamps come with detailed installation guides.
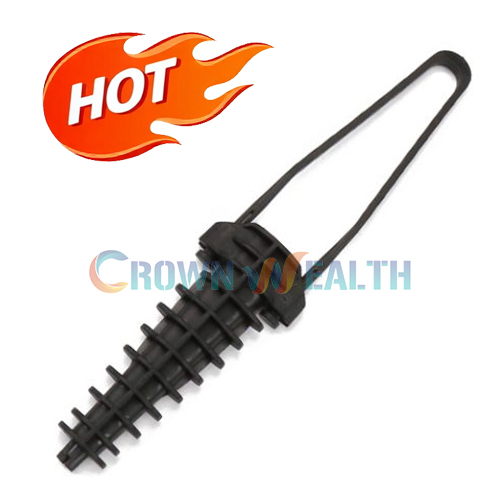
For a Preformed Helical Tension Clamp, you'll need to wrap the pre - formed helical wires around the cable and then secure them in place. This type of clamp is great for applying tension to the cable at end points or where there are changes in direction.
When using an ADSS Tension Clamp, make sure you align the clamp correctly with the cable. Tighten the bolts or screws using the torque wrench. Over - tightening can damage the cable, while under - tightening can lead to the clamp coming loose.
Step 4: Checking the Installation
After attaching the clamp, give it a thorough check. Make sure it's securely fastened to the cable and there are no loose parts. Check for any signs of damage to the cable layers. If you notice any issues, such as a crushed layer or a misaligned clamp, fix it immediately.
Also, check the tension in the cable. If the cable is too loose, it can sag and cause problems. If it's too tight, it can put stress on the cable and the clamps. Adjust the tension as needed.
Step 5: Finalizing the Installation
Once you're satisfied with the installation, clean up any tools and debris. Make sure the area around the clamp is safe and free from any hazards.
It's also a good idea to label the clamp and the cable section for future reference. This can be helpful during maintenance or if you need to make any changes to the cable system.
Tips and Tricks
- Always wear safety gear, including gloves and safety glasses, during the installation process.
- If you're unsure about any step, don't hesitate to contact us. We're here to help!
- Keep a record of the installation, including the date, location, and type of clamp used. This can be useful for maintenance and warranty purposes.
Why Choose Our ADSS Fastening Clamps
As a supplier, we take pride in offering high - quality ADSS Fastening Clamps. Our clamps are made from durable materials that can withstand harsh environmental conditions. They're designed to provide a secure grip on the cable without damaging the layers.
We also offer a wide range of clamps to suit different cable types and installation requirements. Whether you need a suspension clamp, a tension clamp, or something else, we've got you covered.
Contact Us for Purchasing
If you're in the market for ADSS Fastening Clamps or have any questions about the installation process, don't hesitate to get in touch. We're always happy to discuss your needs and provide you with the best solutions. Whether you're a small - scale installer or a large - scale project manager, we can offer the right products and support for your cable installation.
References
- Industry standards for fiber - optic cable installation
- Manufacturer's installation guides for ADSS Fastening Clamps