Hey there! I'm a supplier of U Shackles, and today I'm gonna share with you how to remove a U Shackle. Whether you're a DIY enthusiast or a professional in the industry, this guide will walk you through the process step - by - step.
First off, let's talk about why you might need to remove a U Shackle. Maybe it's time for maintenance, you're replacing it with a new one, or you're reconfiguring your setup. Whatever the reason, it's important to do it right to avoid any safety issues.
Tools You'll Need
Before you start, gather the necessary tools. You'll typically need a wrench or a socket set. The size of the wrench or socket depends on the size of the nuts on the U Shackle. A pair of pliers can also come in handy for holding small parts or removing cotter pins if your U Shackle has them.


Step 1: Safety First
Safety is always the top priority. Make sure the equipment or structure where the U Shackle is installed is stable. If it's on a vehicle or a piece of machinery, put it in a safe position and engage any necessary safety mechanisms. Wear safety glasses to protect your eyes from any debris that might fly off during the removal process.
Step 2: Locate the Nuts
The U Shackle usually has two nuts, one on each end of the threaded part. These nuts are what hold the U Shackle in place. Sometimes, they might be a bit dirty or corroded, especially if the U Shackle has been exposed to the elements for a long time.
Step 3: Loosen the Nuts
Take your wrench or socket set and fit it onto the nuts. Turn the wrench counter - clockwise to loosen the nuts. It might take a bit of force, especially if the nuts are tight or rusted. If they're really stuck, you can use a penetrating oil. Spray the oil on the nuts and let it sit for a few minutes. The oil will seep into the threads and make it easier to turn the nuts.
Step 4: Remove the Nuts
Once the nuts are loose enough, you can use your hands to finish removing them. Set the nuts aside in a safe place so you don't lose them.
Step 5: Take Out the U Shackle
With the nuts removed, you should be able to lift the U Shackle out. Sometimes, it might be a bit snug, especially if there's some dirt or debris between the U Shackle and the parts it's connected to. You can gently wiggle the U Shackle back and forth to loosen it up and then lift it out.
Step 6: Check the Parts
After removing the U Shackle, take a good look at it and the parts it was connected to. Check for any signs of wear, damage, or corrosion. If the U Shackle is worn out or damaged, it's a good idea to replace it with a new one. You can check out our UJ - Type U - Bolt, which is a high - quality alternative that offers great durability.
If you notice any issues with the parts the U Shackle was attached to, like damaged holes or threads, you'll need to address those problems before installing a new U Shackle.
Step 7: Clean the Area
Before installing a new U Shackle or putting the old one back (if it's still in good condition), clean the area where the U Shackle was located. Remove any dirt, rust, or debris. This will ensure a proper fit and prevent future corrosion.
Step 8: Installation (Optional)
If you're installing a new U Shackle, reverse the removal process. Place the U Shackle in the correct position, put the nuts on the threaded ends, and tighten them using your wrench or socket set. Make sure the nuts are tightened securely, but don't over - tighten them as this can damage the threads.
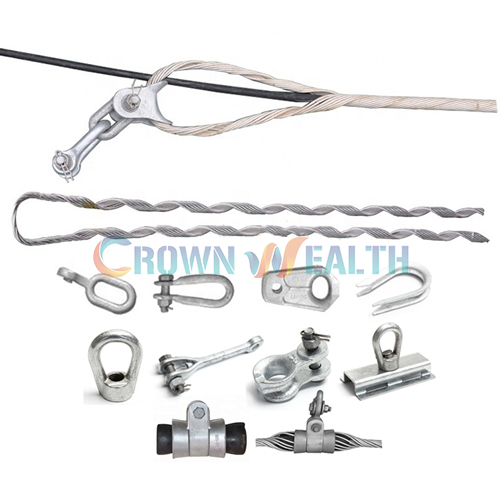
Now, let's talk a bit about our products. As a U Shackle supplier, we also offer other related products. For example, our HDG Clevise is a great addition to your setup. It's made with high - quality materials and can withstand a lot of stress. And if you need an extension for your setup, our YL Type Extension Rod is a reliable option.
If you're in the market for U Shackles or any of our other products, we'd love to have a chat with you. Whether you have questions about the products, need help with installation, or want to discuss a bulk order, we're here for you. Just reach out to us, and we'll be happy to assist you in your procurement process.
References
- "Handbook of Fasteners and Joining" by John H. Bickford
- "Mechanical Design Handbook" by Robert C. Juvinall and Kurt M. Marshek