Installing fiber optic cable isn’t just about pulling fiber from point A to point B—it’s about protecting one of the most fragile yet powerful data transmission mediums in existence. A single misstep during installation can introduce micro-bends or macro-bends, leading to signal attenuation, packet loss, or even complete network failure.
Whether you are a seasoned technician or a DIY enthusiast working on an FTTH (Fiber to the Home) project, knowing how to secure fiber optic cable correctly is non-negotiable. This guide provides a detailed, step-by-step breakdown to ensure your installation is safe, stable, and high-performing.
Why Proper Cable Securing Matters
Unlike copper cables, fiber optic cables contain thin strands of glass or plastic. These strands are highly sensitive to:
-
Excessive bending
-
Tensile stress
-
Crushing pressure
-
Environmental vibration
Improperly secured cables can suffer from signal loss (attenuation), increased latency, or physical breakage. Following best practices helps prevent costly rework and ensures long-term network reliability.
Step 1: Choose the Right Clamp for the Job
The foundation of a good installation starts with selecting the correct hardware.
Key considerations:
-
Match the Clamp Size to Cable Diameter:
Measure your cable’s outer diameter (OD) first. A clamp that is too large allows the cable to slip; one that is too small can deform or crush the cable jacket.
-
Material Selection:
-
Stainless Steel: Best for outdoor, coastal, or high-humidity environments due to corrosion resistance.
-
UV-Resistant Nylon/Plastic: Ideal for aerial drops and general-purpose installations where rust is less of a concern.
-
✅ Pro Tip: Always check the manufacturer’s datasheet for both the cable and the clamp to confirm compatibility.
Step 2: Respect the Minimum Bend Radius
This is arguably the most critical rule in fiber optics.
What is Bend Radius?
The minimum bend radius is the smallest radius a cable can be bent without damaging the internal fibers or degrading optical performance.
-
Standard Rule: Do not bend the cable tighter than 30 mm (1.2 inches) for standard singlemode fiber.
-
Best Practice: Maintain a bend radius of at least 10× the cable diameter during installation, and 15× for long-term static applications.
Never force a cable into a clamp that violates this specification. Doing so creates micro-bends that increase insertion loss—and these issues are extremely difficult to diagnose later.
Step 3: Use the Correct Clamp Type for Each Environment
Different installation scenarios demand different hardware.
A. Aerial Installations (Poles & Rooftops)
-
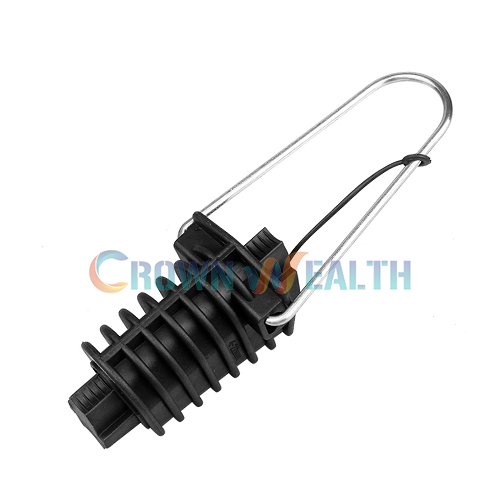
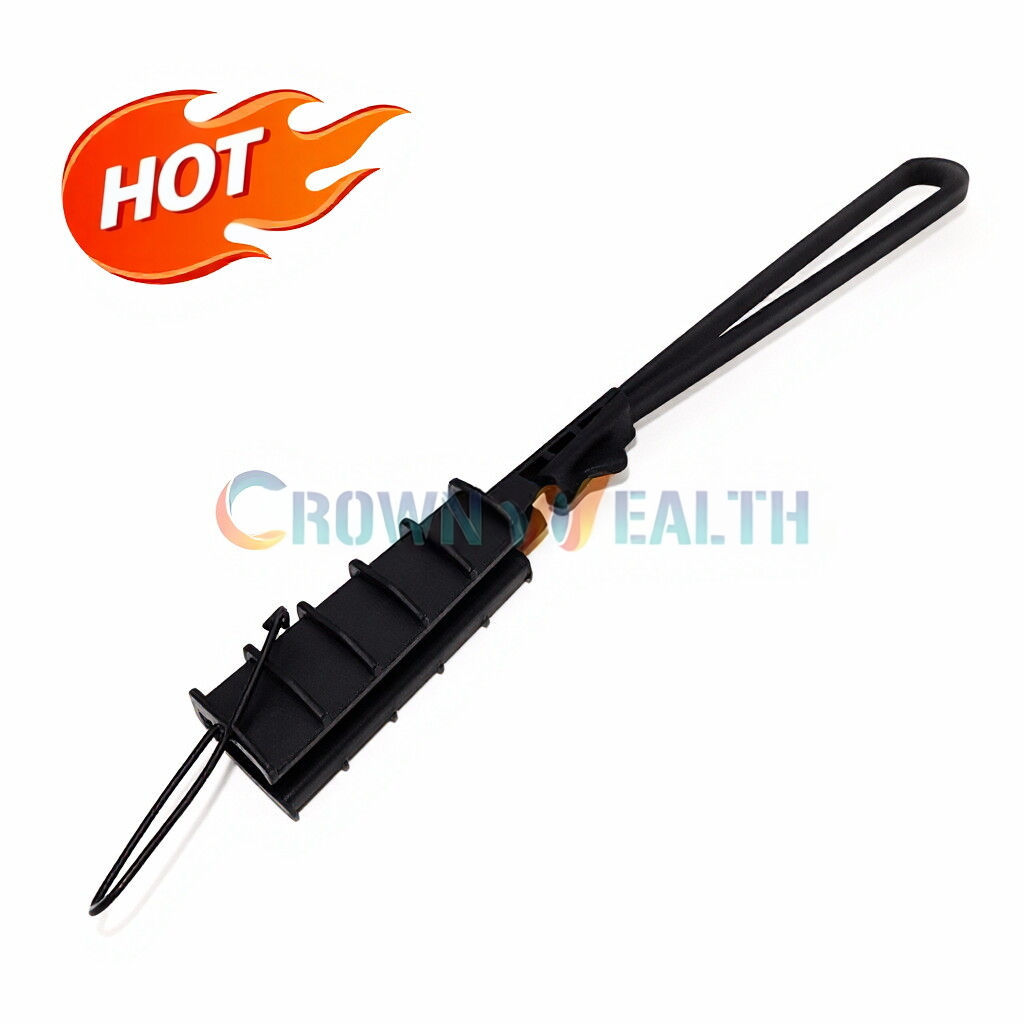
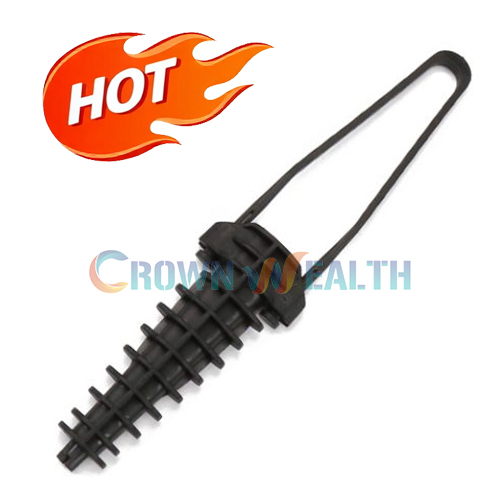
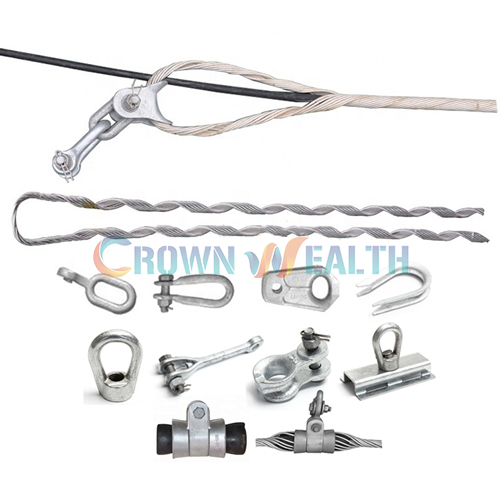
Use: Drop Wire Clamps or Dead-End Clamps
-
Purpose: Anchor the cable securely to poles, strand wires, or building facades.
-
Features to Look For:
-
UV-resistant housing
-
Smooth inner surfaces to avoid scratching the jacket
-
Integrated strain relief
-
B. Indoor / Data Center Installations
-
Use: Rack-mounted cable managers, hook-and-loop straps, or panel clamps
-
Purpose: Organize patch cords, relieve strain, and prevent accidental disconnection.
-
Note: Avoid over-tightening any fasteners near transceiver ports.
Step 4: Apply Correct Tension—Support, Don’t Stretch
A properly secured cable should feel snug, not tight.
Common mistakes include:
-
Pulling the cable taut between anchors (excessive tension)
-
Allowing the cable to sag excessively (risk of physical damage)
Correct approach:
-
Use suspension clamps along the route to support the cable’s weight.
-
Ensure the cable has gentle, natural curves without sharp angles.
-
Leave a small service loop (coil) at termination points to absorb future adjustments.
The clamp’s role is to support weight and resist movement, not to eliminate every inch of slack.
Step 5: Perform a Final Visual and Optical Inspection
Once the cable is secured:
-
Visual Check:
-
Confirm clamps are properly closed and locked.
-
Verify no sharp bends or kinks exist.
-
Ensure no foreign objects are pressing against the cable.
-
-
Optical Power Test:
-
Use an Optical Time-Domain Reflectometer (OTDR) or power meter.
-
Compare readings against baseline loss values.
-
Any unexpected loss likely indicates a bend or compression issue introduced during securing.
-
Quick Troubleshooting Checklist
If you encounter high loss after securing the cable, check for:
-
[ ] Clamps applied too tightly
-
[ ] Cable forced into a bend radius < 30 mm
-
[ ] Clamp edges cutting into the jacket
-
[ ] Excessive tension between anchors
Conclusion: Secure for Performance and Longevity
Securing fiber optic cable is not merely a mechanical task—it is a critical part of preserving signal integrity. By carefully selecting the right clamps, respecting bend radius limits, and applying correct tension, technicians can build networks that are clean, organized, and built to last.
Remember: a few extra minutes spent installing clamps correctly can save hours of troubleshooting—and thousands of dollars in repairs—down the road.