Hey there! As a supplier of OPGW Strain Clamps, I often get asked about the best way to install these clamps on curved lines. It's not exactly a walk in the park, but with the right know - how and a bit of elbow grease, you can get the job done right. So, let's dive into it.
Why Curved Lines Are a Challenge
First off, you need to understand why installing OPGW Strain Clamps on curved lines is different from straight ones. On curved lines, the cable is under uneven stress. The outer side of the curve experiences more tension, while the inner side has less. This uneven stress distribution can cause problems if the clamp isn't installed correctly. For instance, it could lead to premature wear and tear of the cable, or worse, the clamp might not hold the cable securely, increasing the risk of the cable coming loose.
Pre - installation Checks
Before you even think about putting the clamp on, there are a few things you need to do. First, inspect the cable. Look for any signs of damage like cuts, abrasions, or kinks. If you find any, it's a good idea to replace the damaged section of the cable. A damaged cable won't work well with the strain clamp and could lead to failures down the line.
Next, measure the curvature of the line. You can use a simple measuring tool to get an accurate reading. This measurement is crucial because it will help you choose the right type of OPGW Strain Clamp. Some clamps are better suited for gentle curves, while others can handle sharper bends.
Choosing the Right Clamp
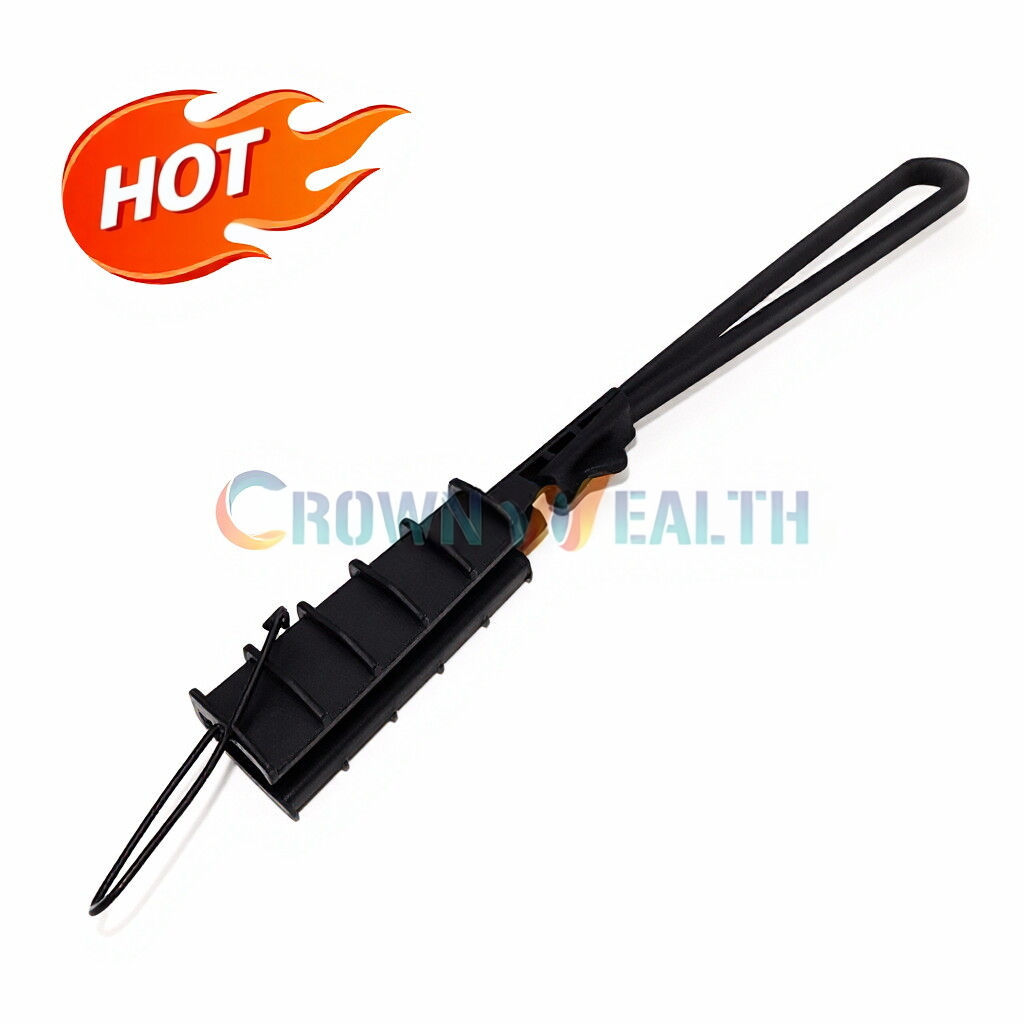
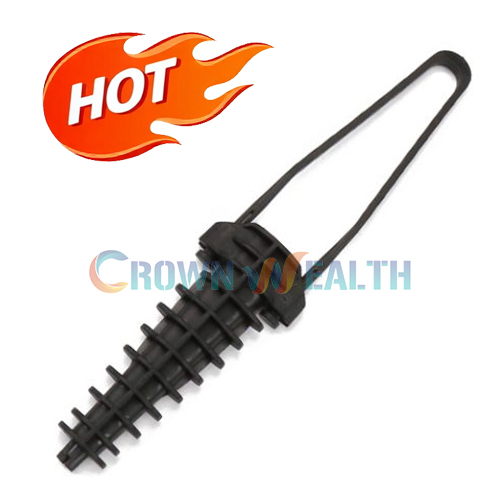
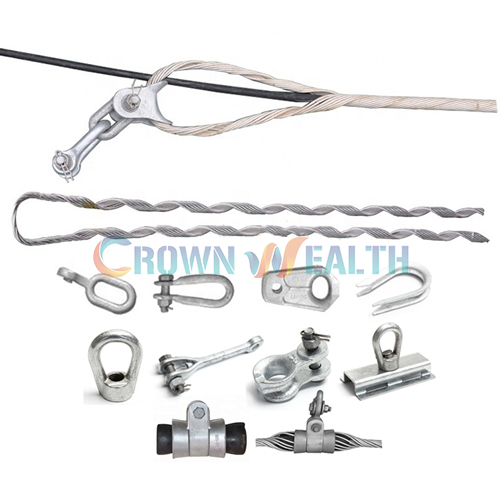
We offer a variety of OPGW Strain Clamps, and picking the right one for your curved line is key. For moderately curved lines, our OPGW Preformed Helical Tension Clamp is a great choice. These clamps are designed to wrap around the cable in a helical pattern, which helps distribute the stress evenly along the curve. They're also easy to install, which is a big plus when you're working on a curved line.
If you're dealing with a more sharply curved line, you might want to consider a specialized clamp that can better adapt to the tight bend. We can help you figure out which one is best for your specific situation.


Installation Steps
Step 1: Prepare the Clamp
Start by unpacking the OPGW Strain Clamp and making sure you have all the parts. Check for any signs of damage on the clamp itself. If everything looks good, clean the clamp to remove any dirt or debris. This will ensure a good grip on the cable.
Step 2: Position the Clamp
Place the clamp at the correct location on the cable. On a curved line, this can be a bit tricky. You need to make sure the clamp is centered on the curve and that it's aligned with the direction of the cable. Use a marker to mark the position if necessary.
Step 3: Attach the Clamp
Once the clamp is in position, start attaching it to the cable. Follow the manufacturer's instructions carefully. Usually, this involves tightening bolts or screws. Make sure you don't over - tighten or under - tighten them. Over - tightening can damage the cable, while under - tightening won't hold the cable securely.
Step 4: Check the Tension
After attaching the clamp, check the tension of the cable. You can use a tension meter to get an accurate reading. The tension should be within the recommended range for the cable and the clamp. Adjust the tension if needed by loosening or tightening the clamp slightly.
Additional Considerations
When working on curved lines, it's also a good idea to use additional accessories. For example, an Aluminum Alloy Joint Box can be used to protect the cable connections. These boxes are made of durable aluminum alloy, which provides good protection against the elements.
Another useful accessory is the Double Suspension Clamp for OPGW. This clamp can help support the cable on the curved line and reduce the stress on the OPGW Strain Clamp.
Post - installation Inspection
Once the installation is complete, do a final inspection. Check the clamp to make sure it's securely attached and that there are no signs of movement. Look at the cable for any signs of damage that might have occurred during the installation process. Also, check the tension again to make sure it's still within the correct range.
Troubleshooting
If you encounter any problems after the installation, don't panic. Here are some common issues and how to fix them:
- Loose Clamp: If the clamp seems loose, check the bolts or screws and tighten them if necessary. Make sure you're using the right tool to tighten them to the correct torque.
- Uneven Stress: If you notice that the stress on the cable is uneven, you might need to adjust the position of the clamp. You can also try using additional support accessories to help distribute the stress more evenly.
Conclusion
Installing an OPGW Strain Clamp on a curved line isn't the easiest task, but it's definitely doable. By following the steps I've outlined above, you can ensure a successful installation. And remember, as a supplier of OPGW Strain Clamps, we're here to help. Whether you need advice on choosing the right clamp or assistance with installation, just reach out. If you're interested in purchasing our high - quality OPGW Strain Clamps or any of our other products, we're ready to have a chat about your specific needs. Contact us to start the procurement discussion and let's work together to get your project up and running smoothly.
References
- "Fiber Optic Cable Installation Guide", Industry Standard Publication
- "OPGW Fitting Handbook", Manufacturer's Manual