Hey there! As a supplier of Aluminum Joint Boxes, I've seen firsthand how crucial it is to have these boxes properly installed. A well - installed aluminum joint box not only ensures the safety of your electrical or fiber - optic connections but also extends the lifespan of your entire system. So, let's dive into how you can check if an aluminum joint box is properly installed.
1. Physical Inspection
First off, a good old - fashioned physical inspection can tell you a lot. Start by looking at the box itself. It should be made of high - quality aluminum, which is durable and resistant to corrosion. You can find top - notch Aluminum Joint Box on our website.


Check for any visible damage on the box. Cracks, dents, or scratches can compromise the integrity of the box and expose the connections inside to environmental factors like moisture and dust. If you spot any damage, it's a red flag that the installation might not be up to par.
Next, examine the mounting of the box. It should be firmly attached to the surface. A loose box can cause vibrations, which may lead to loose connections over time. Give the box a gentle shake (but not too hard, of course). If it moves or wobbles, the mounting might need to be tightened or re - evaluated.
2. Sealing and Gaskets
Proper sealing is essential for an aluminum joint box. The box should have gaskets around the edges to prevent moisture and dust from getting inside. Check the gaskets for signs of wear, such as cracking or drying out. If the gaskets are in poor condition, they won't be able to do their job effectively.
Make sure the box is completely sealed. You can do this by looking for any gaps between the lid and the body of the box. Even a small gap can allow moisture to seep in, which can cause corrosion and damage to the connections. If you find a gap, it might be because the lid isn't properly aligned or the gaskets need to be replaced.
3. Cable Entries
The way the cables enter the box is another important aspect. There should be proper cable glands or bushings at the cable entry points. These components help to seal the entry points and protect the cables from damage.
Check that the cables are not pinched or kinked as they enter the box. A pinched cable can cause a break in the conductor, leading to a loss of signal or electrical power. Also, ensure that the cables are secured within the box. Loose cables can move around and cause short circuits or other problems.
4. Internal Connections
Now, let's take a look inside the box. The internal connections should be neat and organized. There should be no loose wires or exposed conductors. All connections should be properly tightened using the appropriate tools.
Use a multimeter to check the electrical continuity of the connections. If you're dealing with fiber - optic cables, use an optical time - domain reflectometer (OTDR) to check for any signal losses. A high signal loss could indicate a problem with the connection or the cable itself.
The terminals inside the box should be clean and free of corrosion. Corrosion can increase the resistance in the circuit, which can lead to overheating and potential failures. If you notice any corrosion, you may need to clean the terminals or replace them.
5. Grounding
Proper grounding is crucial for the safety of the system. The aluminum joint box should be grounded correctly. Check the grounding wire to make sure it is securely attached to the box and to the grounding point.
Use a continuity tester to verify that there is a good electrical connection between the box and the ground. A poor grounding connection can lead to electrical shock hazards and can also cause interference in the system.
6. Compatibility with Other Components
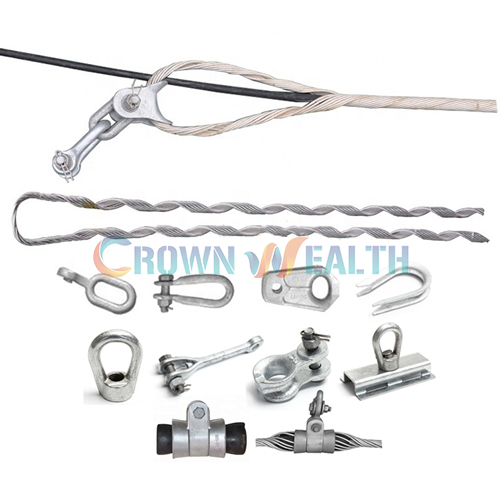
The aluminum joint box should be compatible with the other components in the system. For example, if you're using OPGW Performed Suspension Clamp or Preformed Double Suspension, make sure they work well together.
Check the specifications of all the components to ensure that they are designed to work in the same environment and under the same conditions. Incompatible components can lead to performance issues and may even cause damage to the equipment.
7. Documentation and Labels
Finally, check for proper documentation and labels. The box should have labels indicating the type of connections, the voltage, and any other relevant information. This makes it easier to troubleshoot and maintain the system in the future.
The installation should also be accompanied by documentation, such as installation manuals and test reports. These documents can provide valuable information about the installation process and can help you determine if the installation was done correctly.
In conclusion, checking if an aluminum joint box is properly installed requires a thorough inspection of various aspects, from the physical condition of the box to the internal connections. By following these steps, you can ensure that your aluminum joint box is installed correctly and is functioning properly.
If you're in the market for high - quality aluminum joint boxes or have any questions about their installation, don't hesitate to reach out. We're here to help you with all your needs and ensure that you get the best products for your projects. Whether you're a professional installer or a DIY enthusiast, we've got you covered. Let's start a conversation about your requirements and find the perfect solution for you.
References
- Electrical Installation Manuals
- Fiber - Optic Installation Guides
- Industry Standards for Aluminum Joint Boxes