Hey there! As a supplier of Aluminum Joint Boxes, I've had my fair share of experiences with all sorts of installations. Today, I'm gonna walk you through the process of installing a fan in an aluminum joint box. It might seem a bit tricky at first, but with the right steps, you'll have it up and running in no time.
Why Install a Fan in an Aluminum Joint Box?
First off, you might be wondering why you'd even want to install a fan in an aluminum joint box. Well, these boxes can get pretty hot, especially if they're housing electrical components that generate a lot of heat. Overheating can cause damage to the equipment inside, reduce its lifespan, and even pose a safety risk. A fan helps to circulate the air inside the box, keeping the temperature down and ensuring everything runs smoothly.
What You'll Need
Before you start, gather the following tools and materials:
- A suitable fan: Make sure it's the right size for your aluminum joint box and has the appropriate airflow capacity.
- Screwdriver: You'll need this to remove and install screws.
- Drill: If you need to create holes for the fan or its mounting brackets.
- Mounting brackets: These will hold the fan securely in place.
- Electrical wire: To connect the fan to a power source.
- Wire connectors: To make secure electrical connections.
- Power supply: You can use a battery, a power adapter, or connect it to the electrical system in the box.
Step 1: Choose the Right Location
The first step is to decide where to install the fan in the aluminum joint box. You want to place it in a spot that allows for maximum airflow. Usually, the best place is near the top of the box, as hot air rises. This way, the fan can draw the hot air out and replace it with cooler air from the bottom.
Before you make any holes or start mounting, take a look inside the box to make sure there are no obstacles in the way. You don't want the fan to interfere with any electrical components or wires.
Step 2: Prepare the Box
Once you've chosen the location, it's time to prepare the box for the fan installation. If the fan comes with mounting brackets, you might need to drill holes in the box to attach them. Use a drill bit that's the right size for the screws on the brackets.
Be careful when drilling, as you don't want to damage any of the components inside the box. If possible, mark the spots where you need to drill with a pencil first. This will help you stay accurate and avoid making any mistakes.
Step 3: Mount the Fan
After you've drilled the holes, it's time to mount the fan. Attach the mounting brackets to the box using the screws and a screwdriver. Make sure the brackets are secure and the fan is level.
Once the brackets are in place, carefully place the fan on top of them and align the holes in the fan with the holes in the brackets. Insert the screws through the holes and tighten them with the screwdriver. Don't overtighten the screws, as this could damage the fan or the brackets.
Step 4: Connect the Electrical Wires
Now that the fan is mounted, it's time to connect the electrical wires. First, make sure the power is turned off to avoid any electrical shocks.
Strip the ends of the electrical wire using a wire stripper. You'll need to connect the positive and negative wires from the fan to the appropriate terminals on the power supply. Use wire connectors to make secure connections. Twist the wires together tightly and then slide the wire connector over the connection and crimp it with a pair of pliers.


If you're connecting the fan to the electrical system in the box, you might need to use a junction box to make the connections. This will help keep the wires organized and prevent any short circuits.
Step 5: Test the Fan
Once you've connected the wires, it's time to test the fan. Turn on the power and see if the fan starts spinning. If it doesn't, check the connections to make sure they're secure and that the power supply is working properly.
If the fan is spinning, listen for any unusual noises or vibrations. This could indicate that the fan is not mounted correctly or that there's a problem with the electrical connections. If you notice any issues, turn off the power and make the necessary adjustments.
Step 6: Secure the Wires
After you've tested the fan and everything is working properly, it's important to secure the wires. Use cable ties or wire clips to keep the wires organized and prevent them from getting in the way or causing any damage.
Make sure the wires are not touching any hot components or moving parts inside the box. This will help prevent any electrical problems and ensure the safety of the installation.
Other Related Products
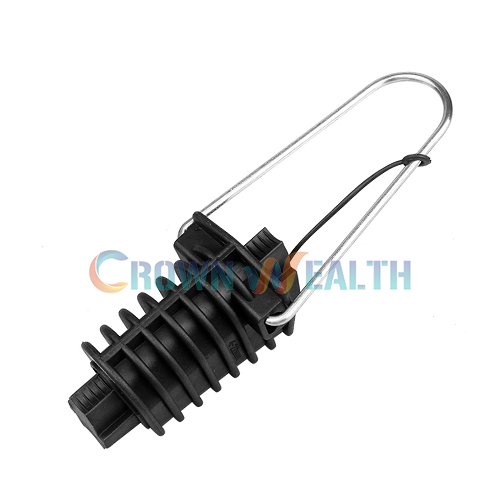
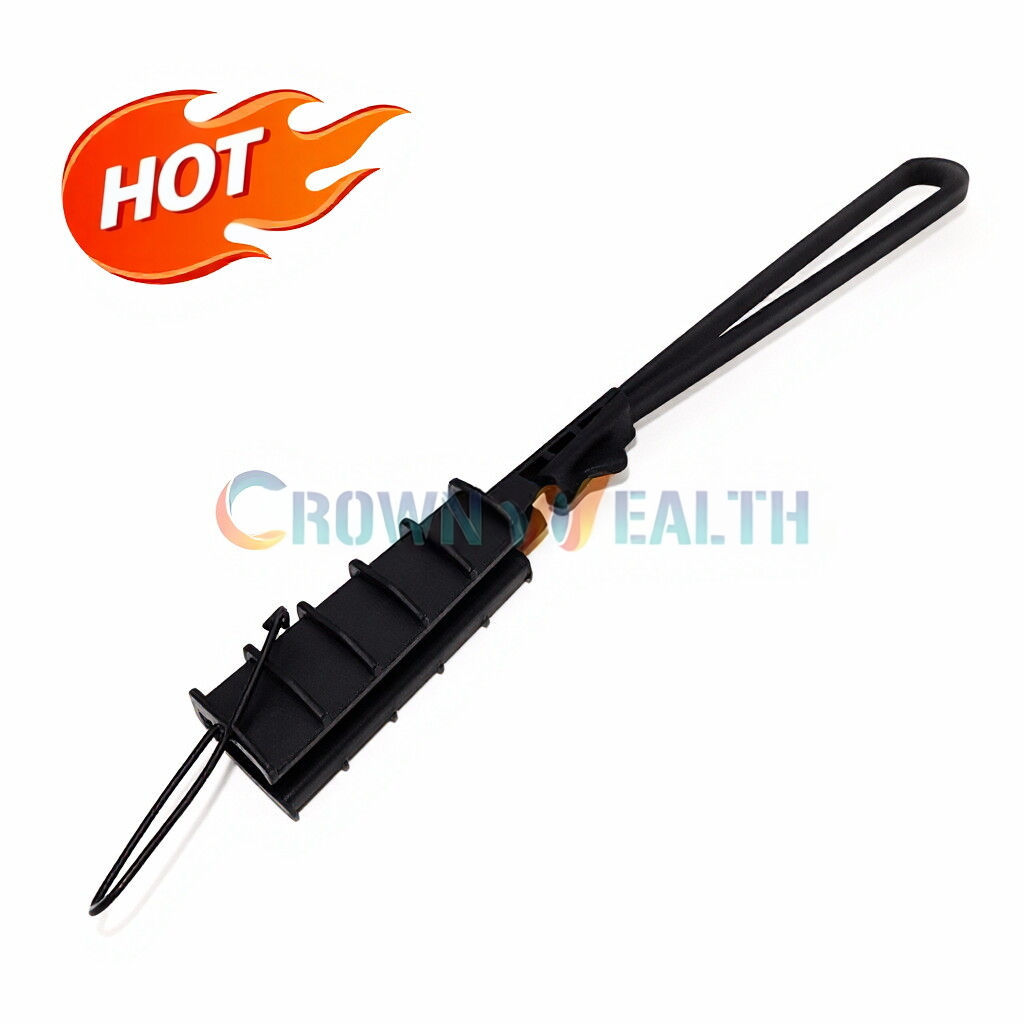
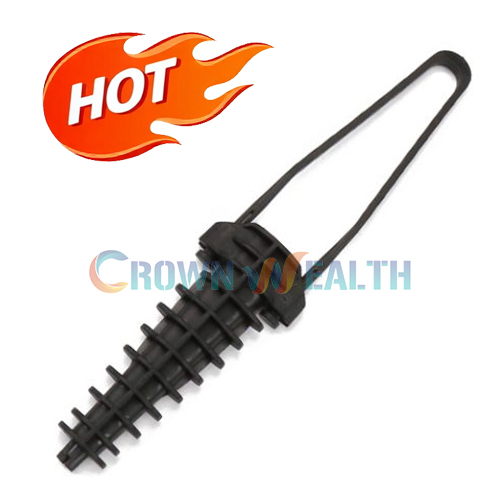
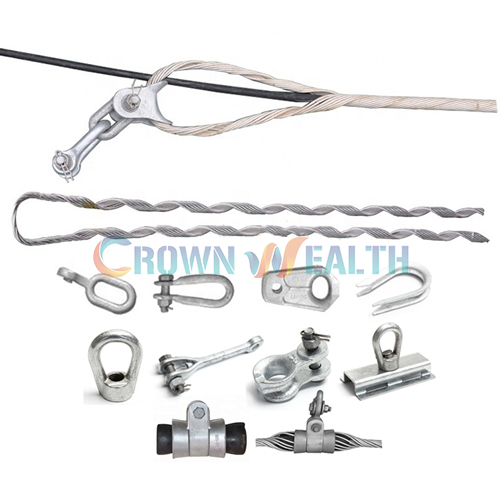
If you're in the market for other fiber optic cable fittings, we also offer some great products. Check out our Aluminum Alloy Optical Cable Splice Box, OPGW Preformed Helical Tension Clamp, and Preformed Double Suspension. These products are designed to meet the highest standards of quality and performance.
Conclusion
Installing a fan in an aluminum joint box is a relatively simple process if you follow the right steps. By keeping the temperature inside the box down, you can extend the lifespan of the electrical components and ensure the safety of your equipment.
If you have any questions or need further assistance with the installation or if you're interested in purchasing our Aluminum Joint Boxes or other related products, feel free to reach out. We're here to help you with all your fiber optic cable fitting needs.
References
- General knowledge of electrical installations and fiber optic cable fittings.
- Manufacturer's instructions for the fan and aluminum joint box.